HappyFish.co.za

  • Home
  • All Departments
      • Automobiles & Motorcycles

      • Apparel Accessories

      • Consumer Electronics

      • Electronic Components & Supplies

      • Jewellery & Watches

      • Lights & Lighting

      • Luggage & Bags

      • Pet Supplies

      • Phones & Telecommunications

      • Tools

  • Contact Us
  • Track Your Shipment
  • Wishlist
    Account Account
Search
Looking for something special?
Cart 0

It appears that your cart is currently empty

  • Home
  • Products
  • Brushless Motor Driver Board Dual-Channel ESP32 Simple FOC with ESP32-WROOM-32E Module
Brushless Motor Driver Board Dual-Channel ESP32 Simple FOC with ESP32-WROOM-32E Module
;
;
;

SKU:

Brushless Motor Driver Board Dual-Channel ESP32 Simple FOC with ESP32-WROOM-32E Module

R 789.69


Product type: Electronic Components & Supplies

Weight:

  • Courier Delivery
  •  
  • In Stock
  •  

    Isaiah 55:8-9 John 3:16 Philippians 4:19
    Trust_Badges
    Payment_Icons
    Buyer Protection and Guarantees Privacy Policy


    Specifications:
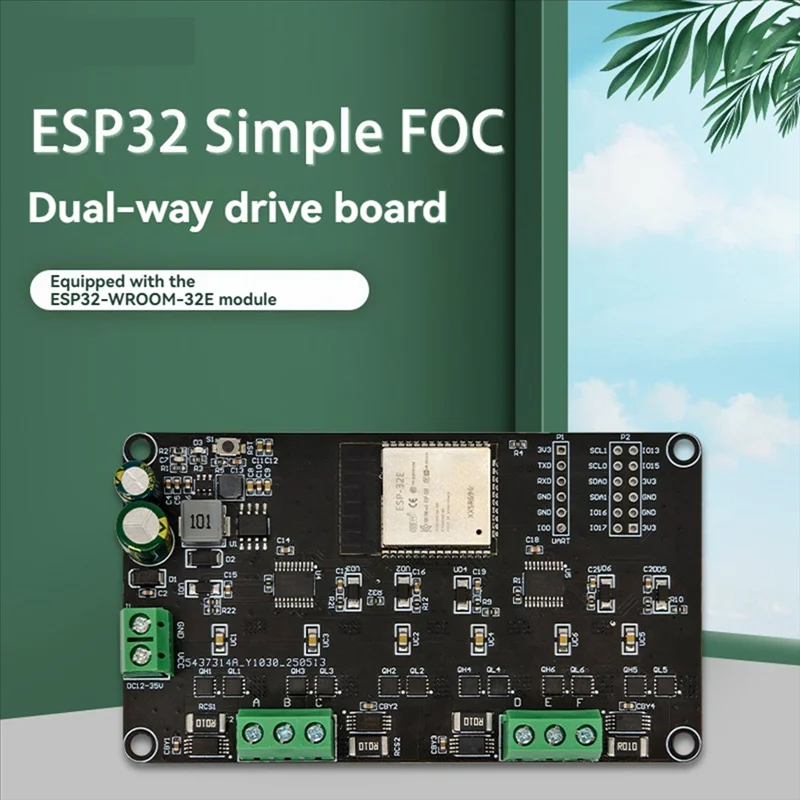
    Product Name: ESP32 Simple FOC dual-channel driver board
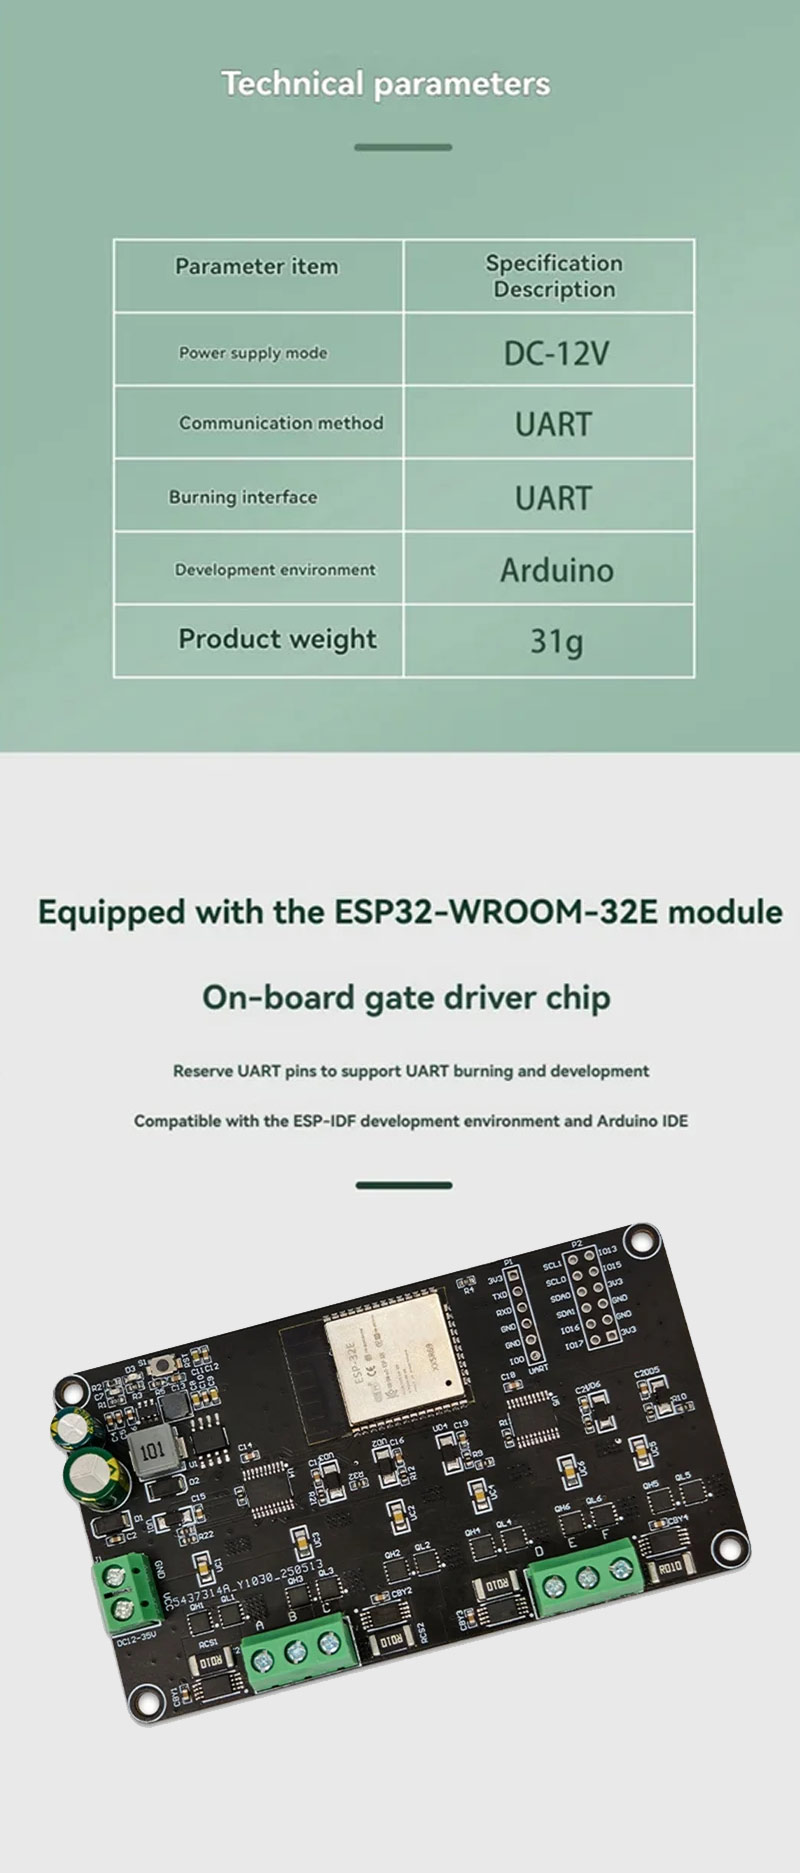
    Power supply: DC-12V
    Communication method: UART
    Programming interface: UART
    Development environment: Compatible forArduino
    Board Size: 54 x 95mm
    Positioning Hole Diameter: 3mm
    Weight: 31g
    Color: Black
    Material: PCB


    Features:
    1. Integrated dual-channel motor driver for advanced control applications.
    2. Pre-reserved UART pins for firmware programming and debugging tasks.
    3. Includes multiple I/O pins for extended control options and versatile usability.
    4. Allows operation under various development environments, including ESP-IDF and ArduinoIDE.

    Package Include:
    1x ESP32 Brushless Motor Driver Board
    1x Short Circuit Cap
    1x 6P Single Row Pin
    1x 6P Double Row Pin


    Firmware Burning Process:
    1. Tool preparation: USB to serial port module
    2. Operation steps
    3. Open the Flash tool tool, select the chip model ESP32
    4. Check the burning option and specify the firmware path
    5. Short the GND-I00 pin before powering on to enter the burning mode
    6. Connect the device according to the following wiring method: RX-TX TX-RX GND-GND 3V3-3V3
    7. Click START to start burning and wait for the completion prompt
    Users can expand more control logicthrough the interface. It is recommended to develop complex applications under for the Arduinoframework

    Share:


    Subscribe to our Newsletter

    Please enter your email address to subscribe to our newsletter.

    You have successfully subscribed!

    YOUR ACCOUNT
    • Personal Info
    • Orders
    • My Cart
    • Addresses
    Customer Service
    • cservice@happyfish.co.za

      +27 82 218 3125

      Visit the SA Department of Health's website: www.sacoronavirus.co.za

    Information
    • Product Guarantees

      Secure Checkout

      Shipping Information

      FAQ

    OUR COMPANY
    • Delivery Information
    • Privacy Policy
    • Return Policy
    • Terms & Conditions
    • About Us
    © 2026, HappyFish.co.za